Changing the title image (Sample Game only)
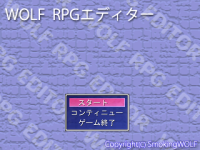
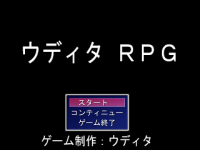
Change the title image of the WOLF RPG Editor sample game to a different image.
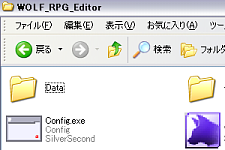
Open the Data folder
Open the "Data" folder inside the "WOLF_RPG_Editor" folder.
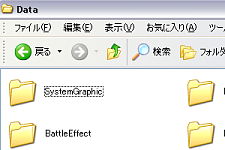
Open the SystemGraphic folder
Open the "SystemGraphic" folder.
Find the TitleGraphic file
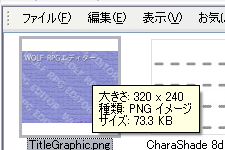
There is a file called "TitleGraphic". This is the title image shown in the sample game.
The file format is PNG, and its size is 320×240 pixels.
Prepare a replacement image
Prepare an image file with the same size (320×240 pixels) and format (PNG) as Step 3.
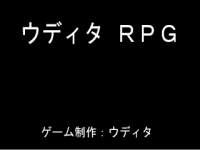
Overwrite the file
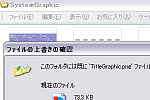
Overwrite "TitleGraphic" with the image file you prepared in Step 4.
Test Play
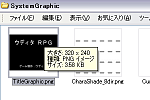
Run Test Play  and the title screen has changed to your image!
※ This is a faithful translation of the original guide, with minor editorial additions (terminology notes, extra examples, beginner-friendly clarifications) and updated screenshots, while preserving the original intent and instructions.